Email Overview
The Email module in DIGISQUARES allows users to easily create, design, and customize email templates. With a drag-and-drop interface, you can design professional-looking emails with ease. Whether you are sending promotional emails, newsletters, or transaction-related emails, the platform provides tools to design emails without needing to write complex code.
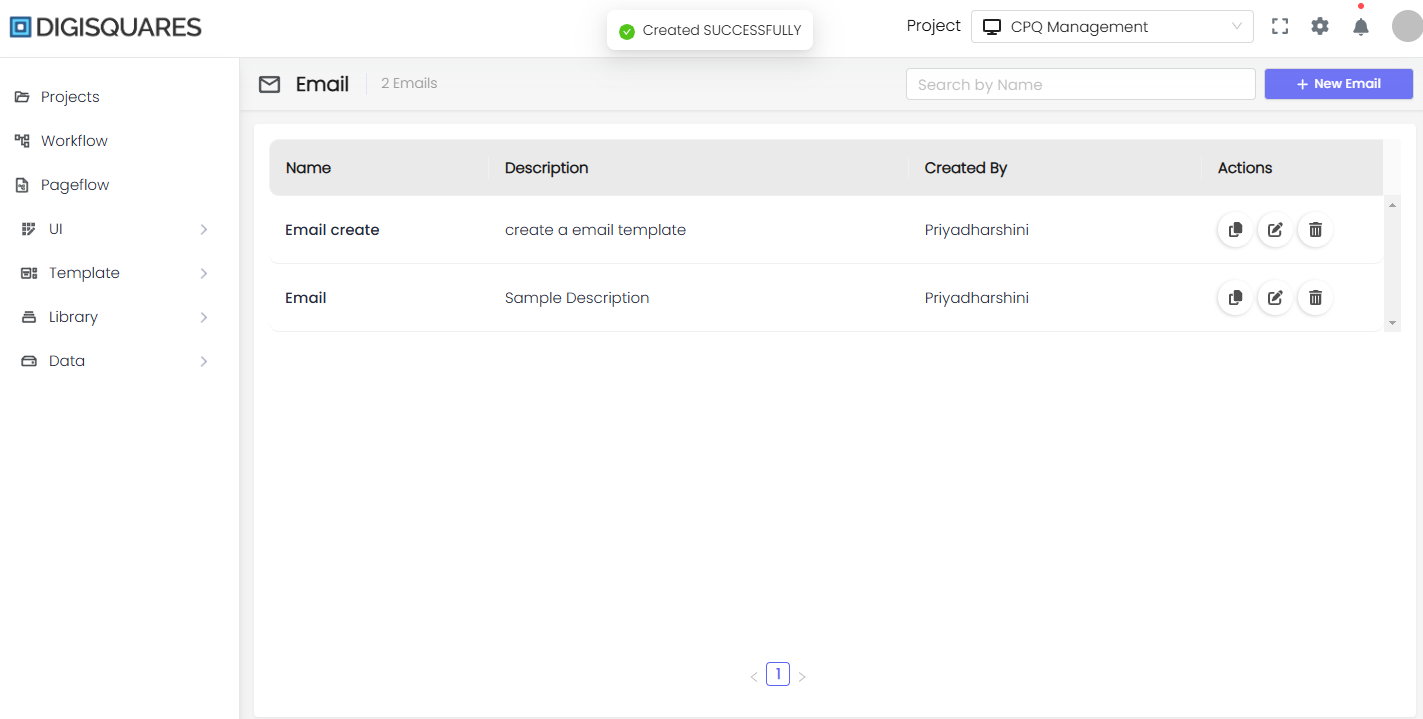
Accessing the Email Menu
- Log in to DIGISQUARES.
- On the left sidebar, click Template > Email to open the Email Menu.
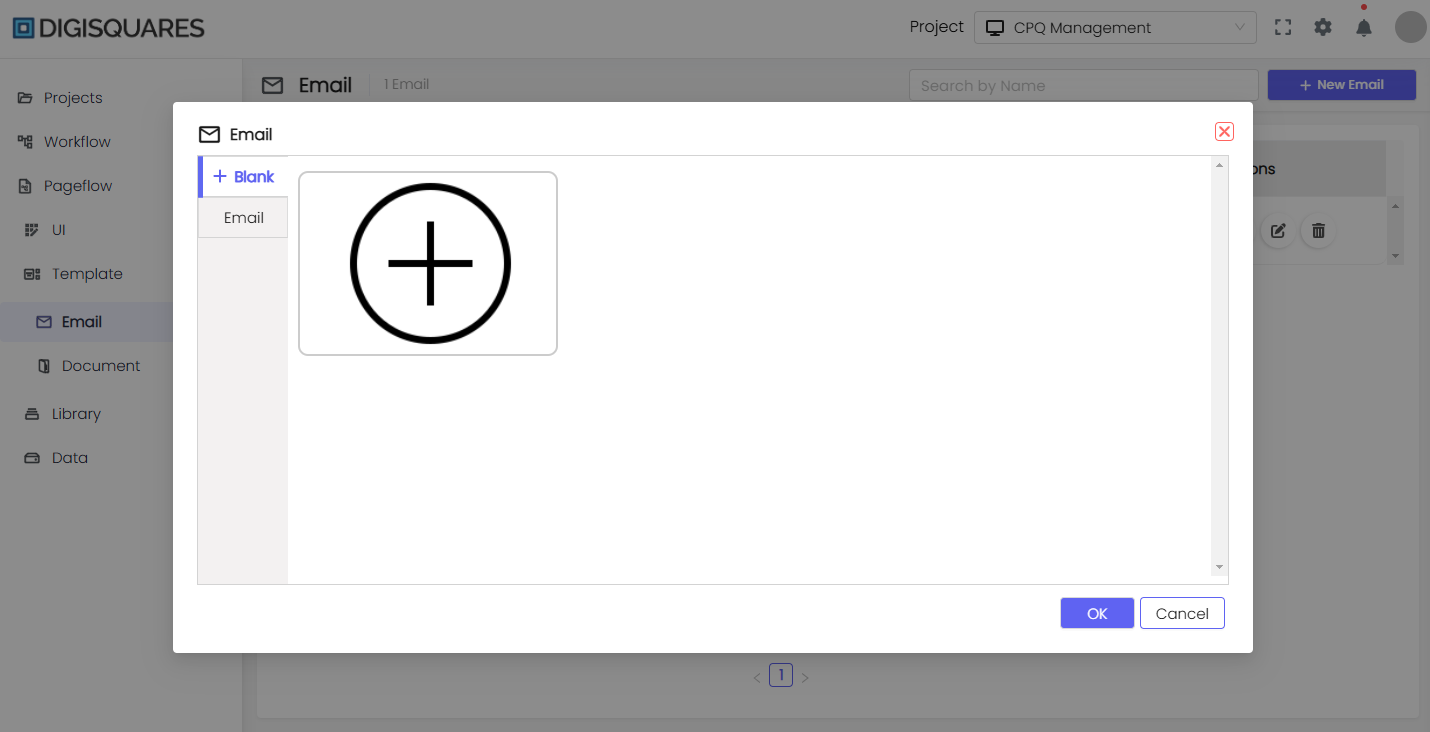
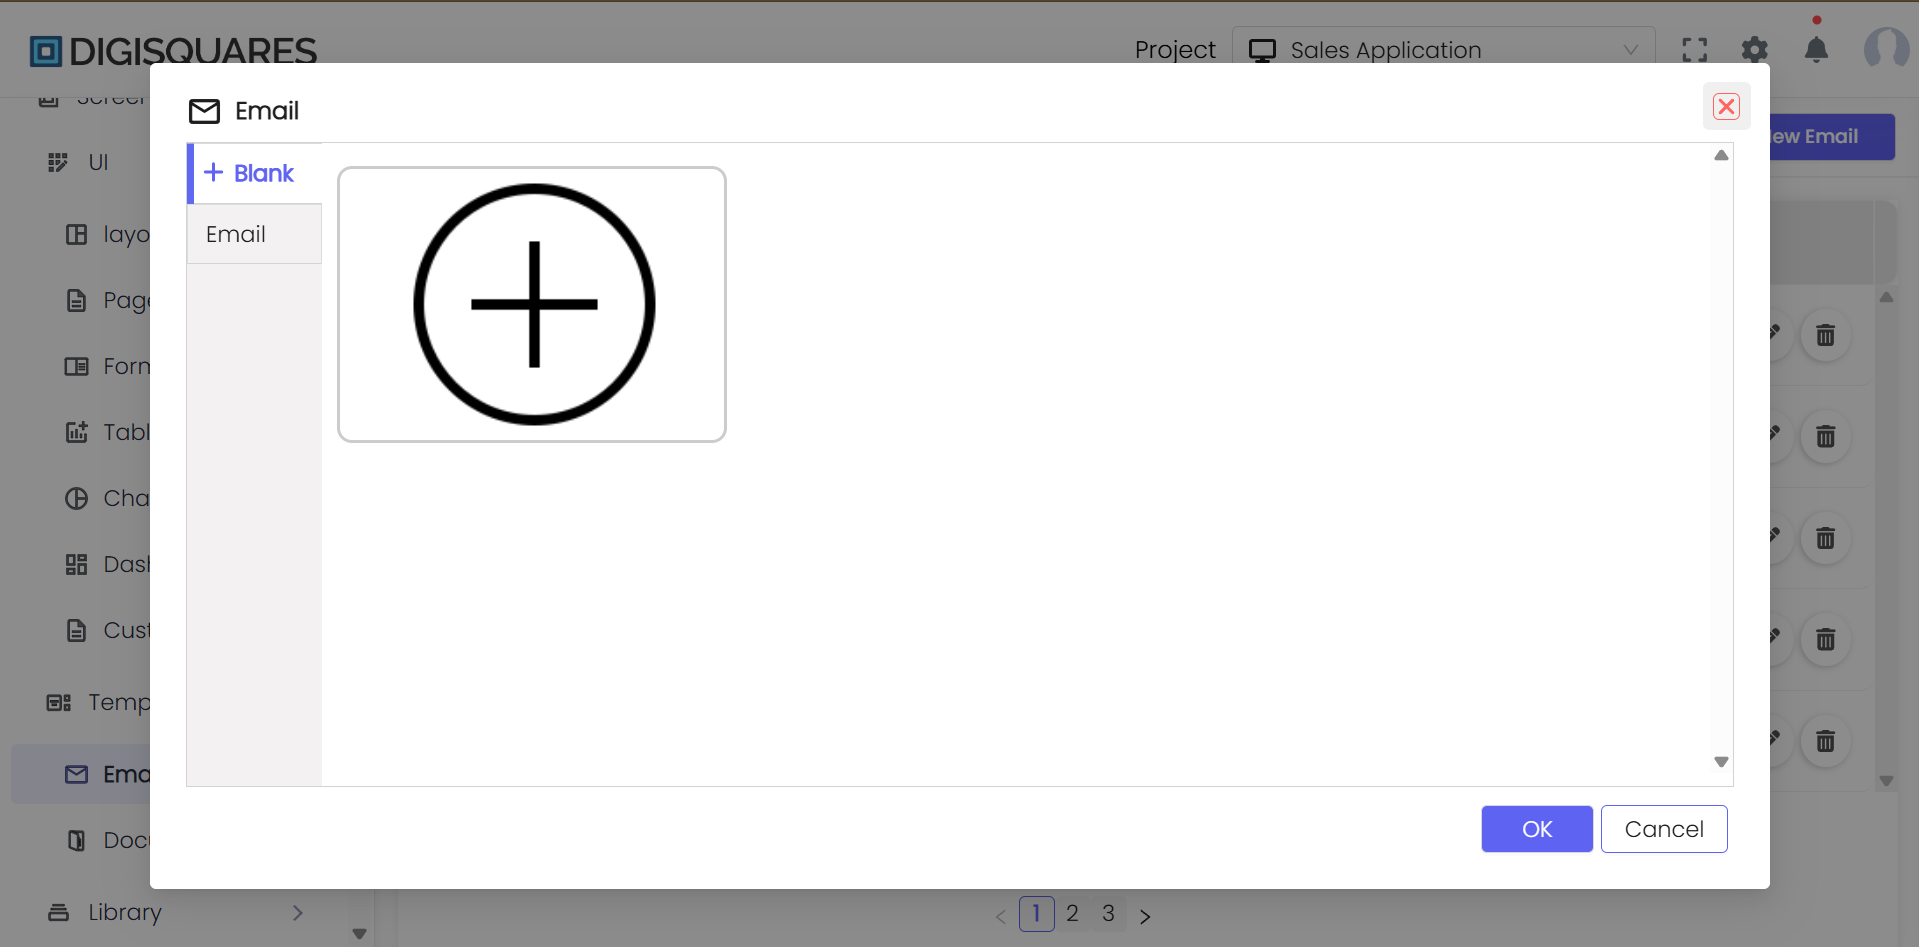
- Click + Blank Email to create a new email template from scratch.
Example Chart Visualizations
Here are some example visualizations created using Digisquares:

Step-by-Step: Creating an Email
Step 1: Opening the Email Module
To begin designing an email:
- From the left sidebar, select Email to access the email editor interface.
Step 2: Starting a New Email
To start creating a new email:
- Click + Blank Email to open a new, blank email template.
- If you have an existing template, you can also open it to make changes or updates.
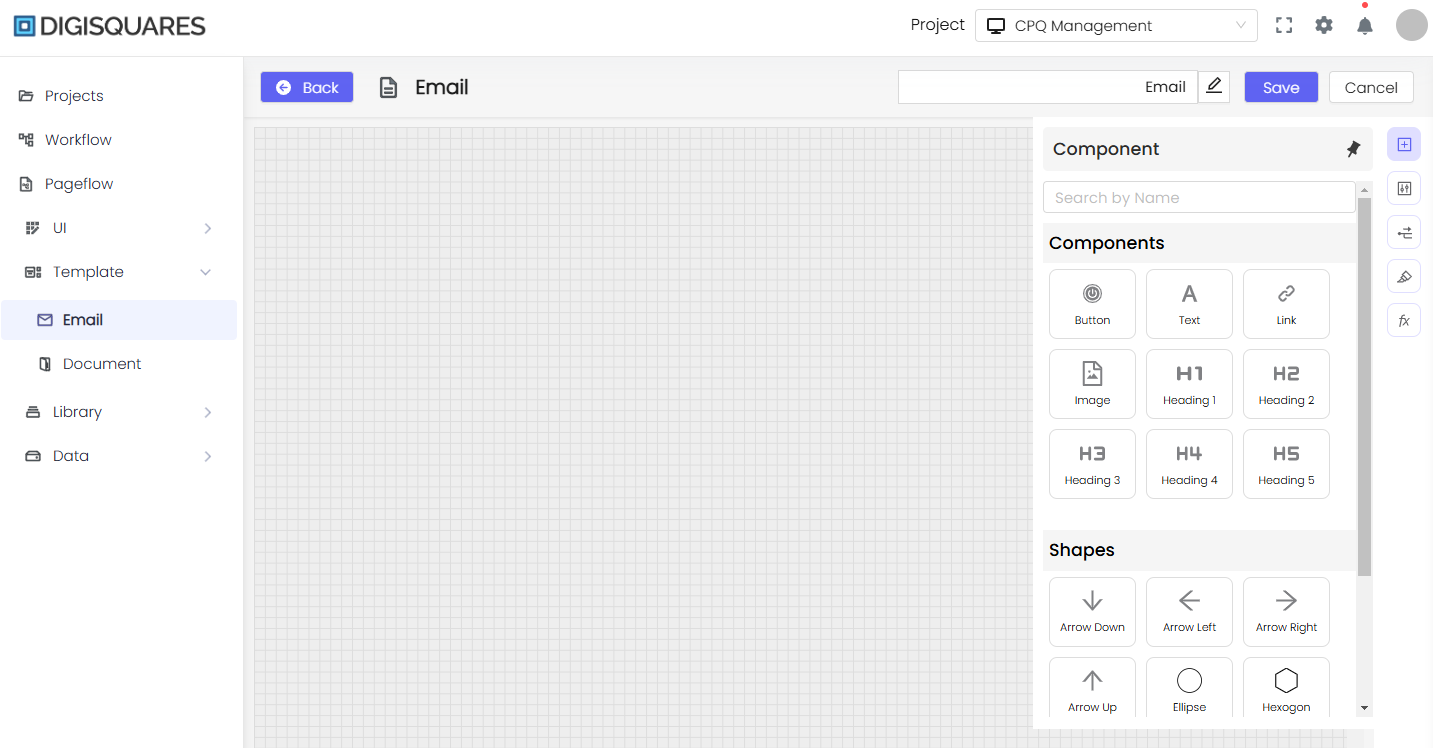
Step 3: Adding Components to the Canvas
- From the Components panel on the right, drag and drop elements (such as Text, Image, Button, Heading) onto the email canvas.
- Arrange the components as needed to structure your email content effectively.
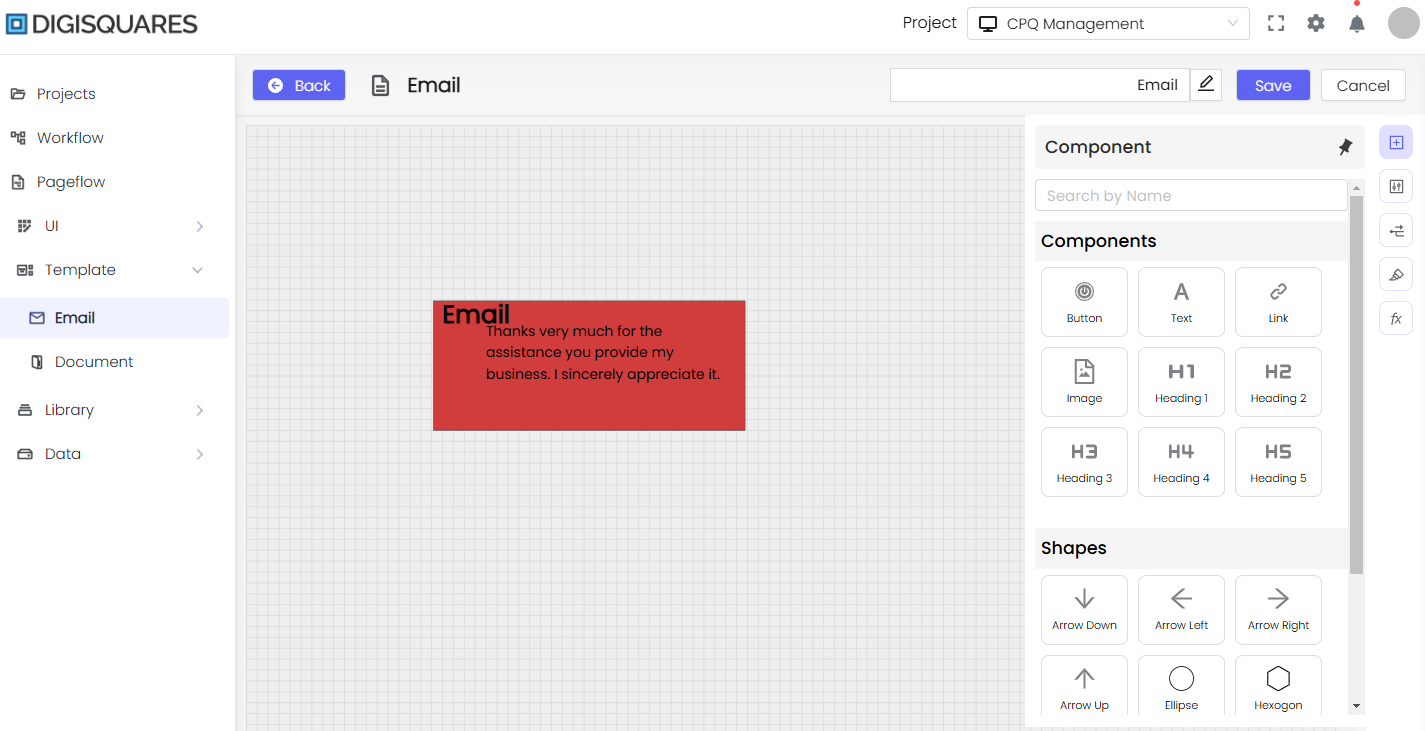
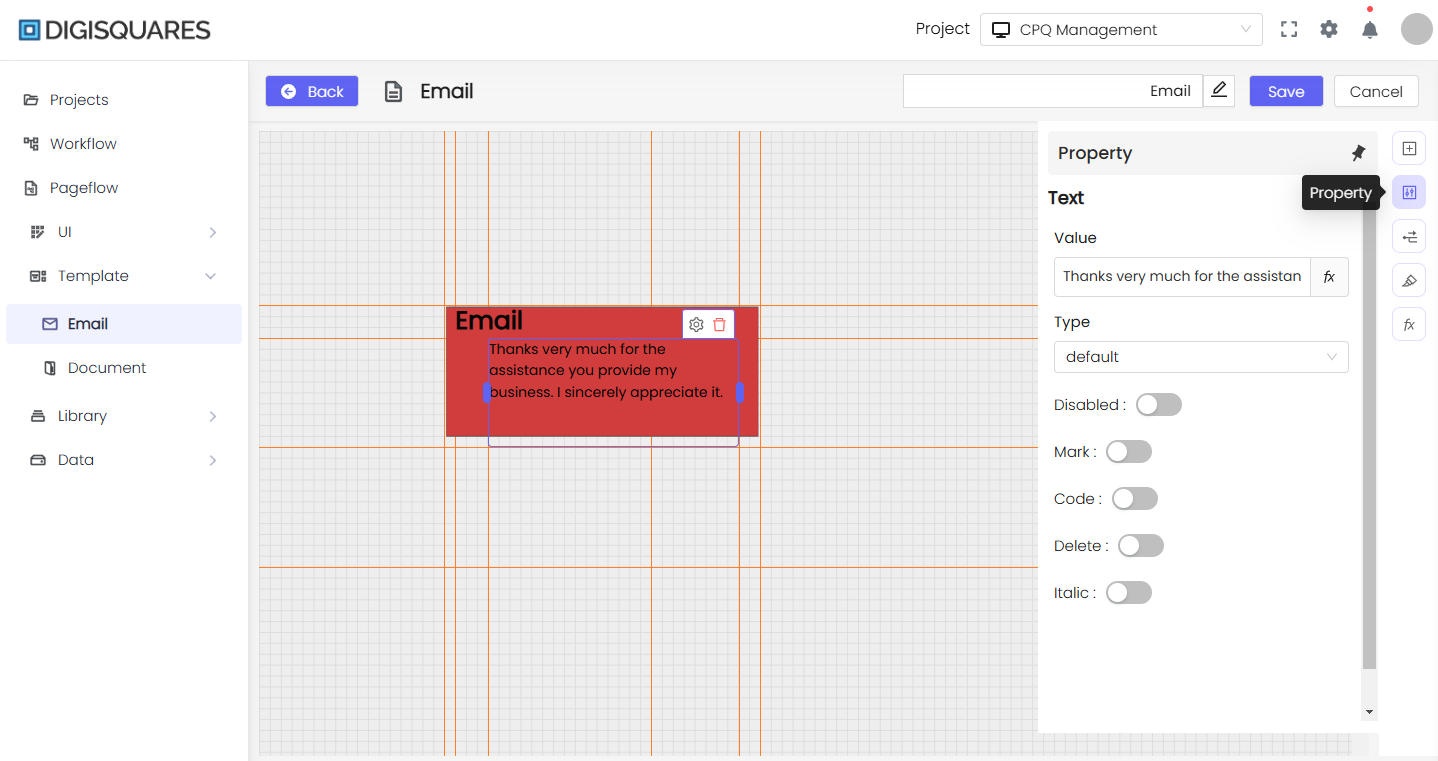
Step 4: Customizing Content and Layout
- Click on any component (e.g., text or image) to edit its content, style, and alignment.
- You can update text content, change image sources, or apply predefined styles to each component.
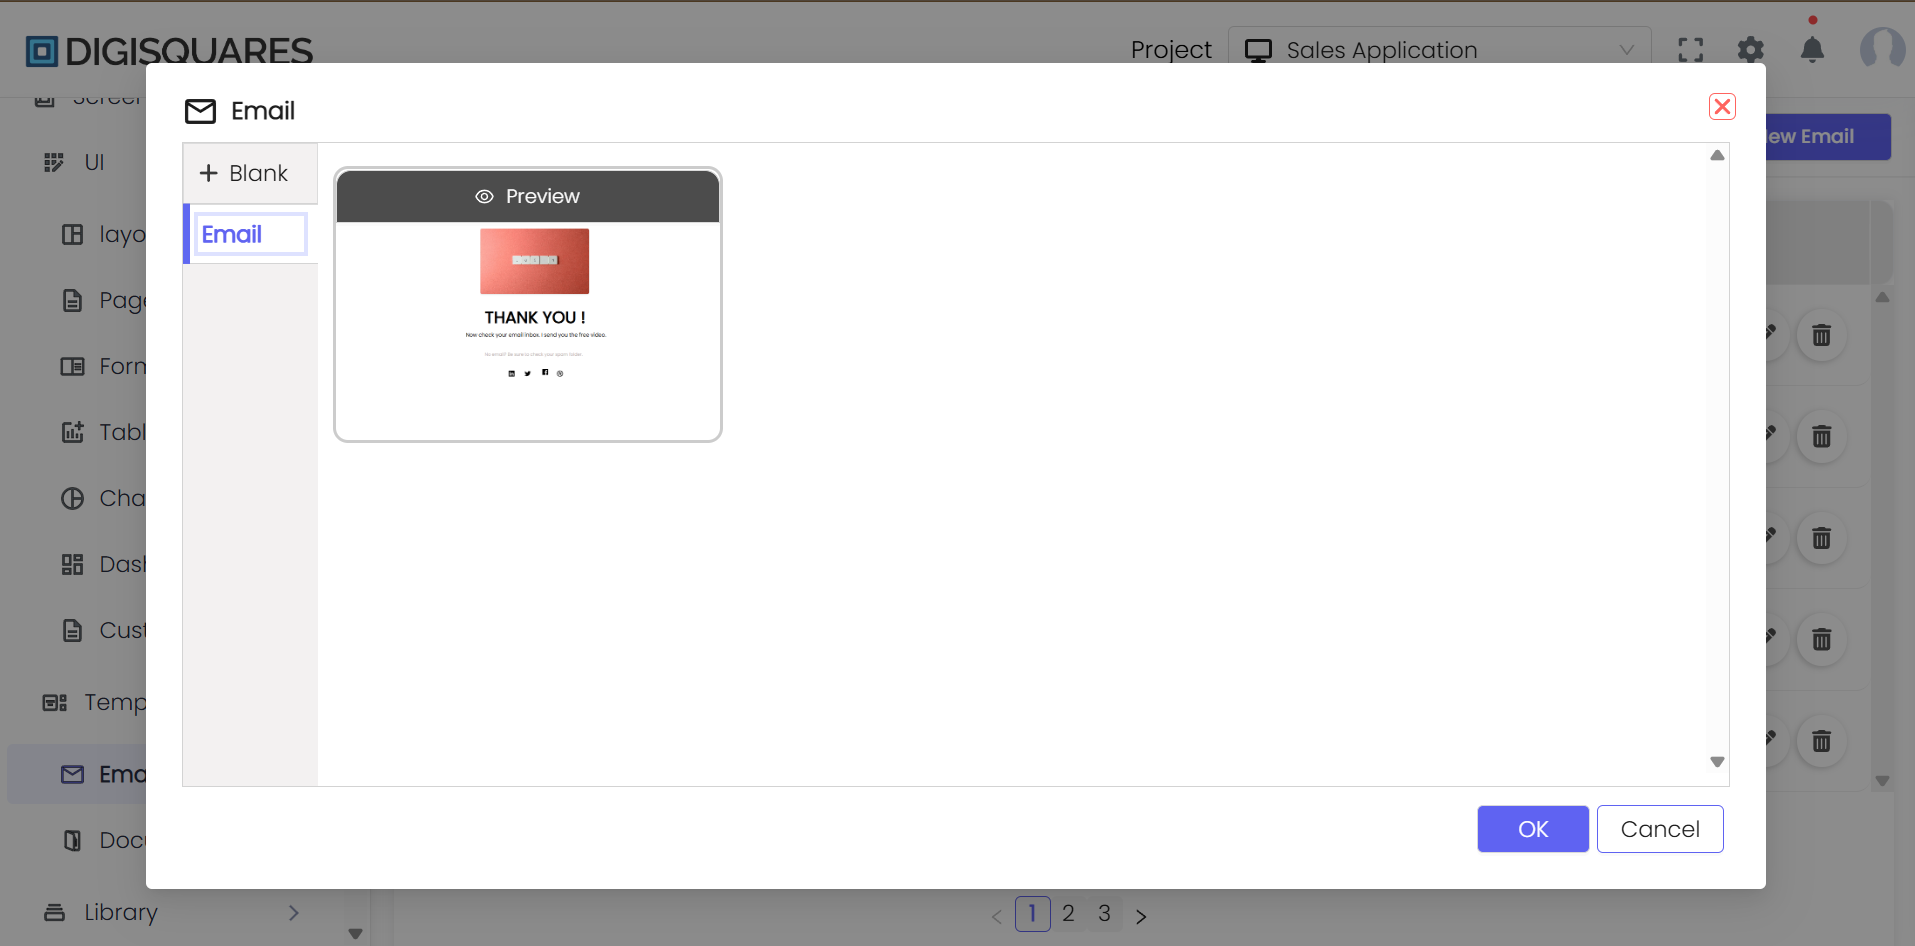
Step 5: Using Pre-designed Templates
DIGISQUARES offers pre-designed templates to simplify the email creation process.
-
Template Selection: You can choose a Blank Email to start from scratch or pick an existing Template to customize. Templates provide a professional structure and layout.
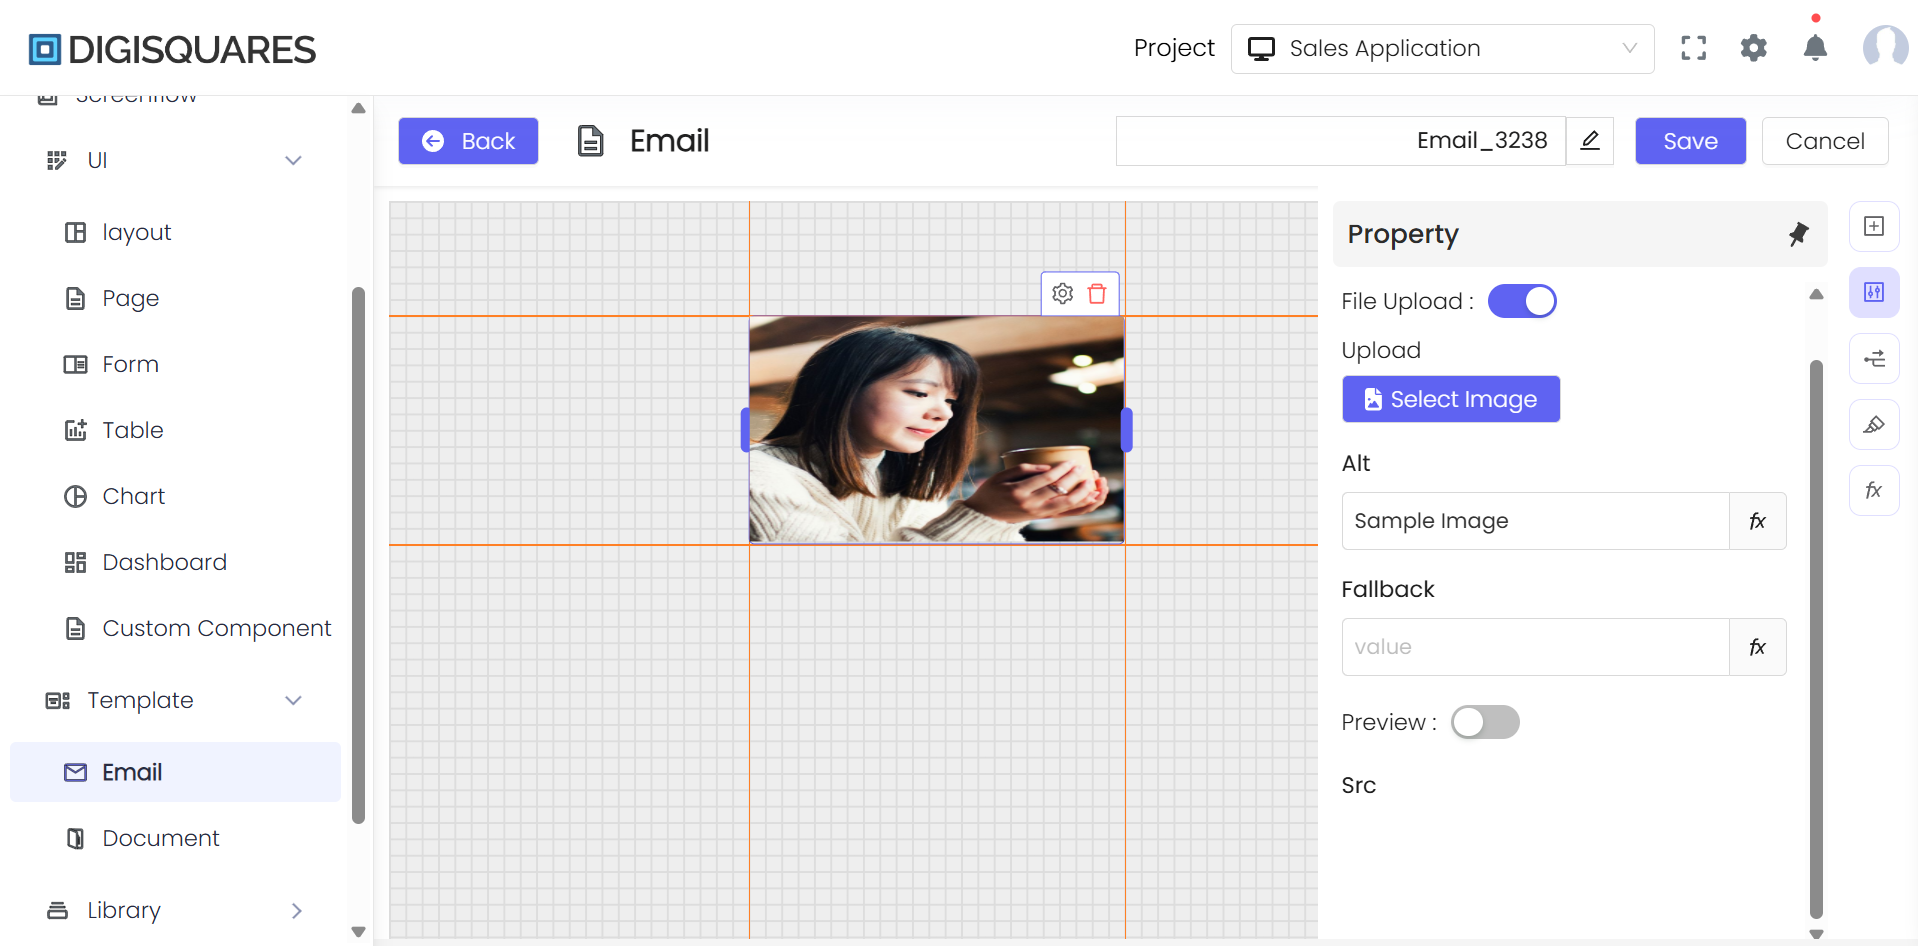
Step 6: Configuring Image and Media Components
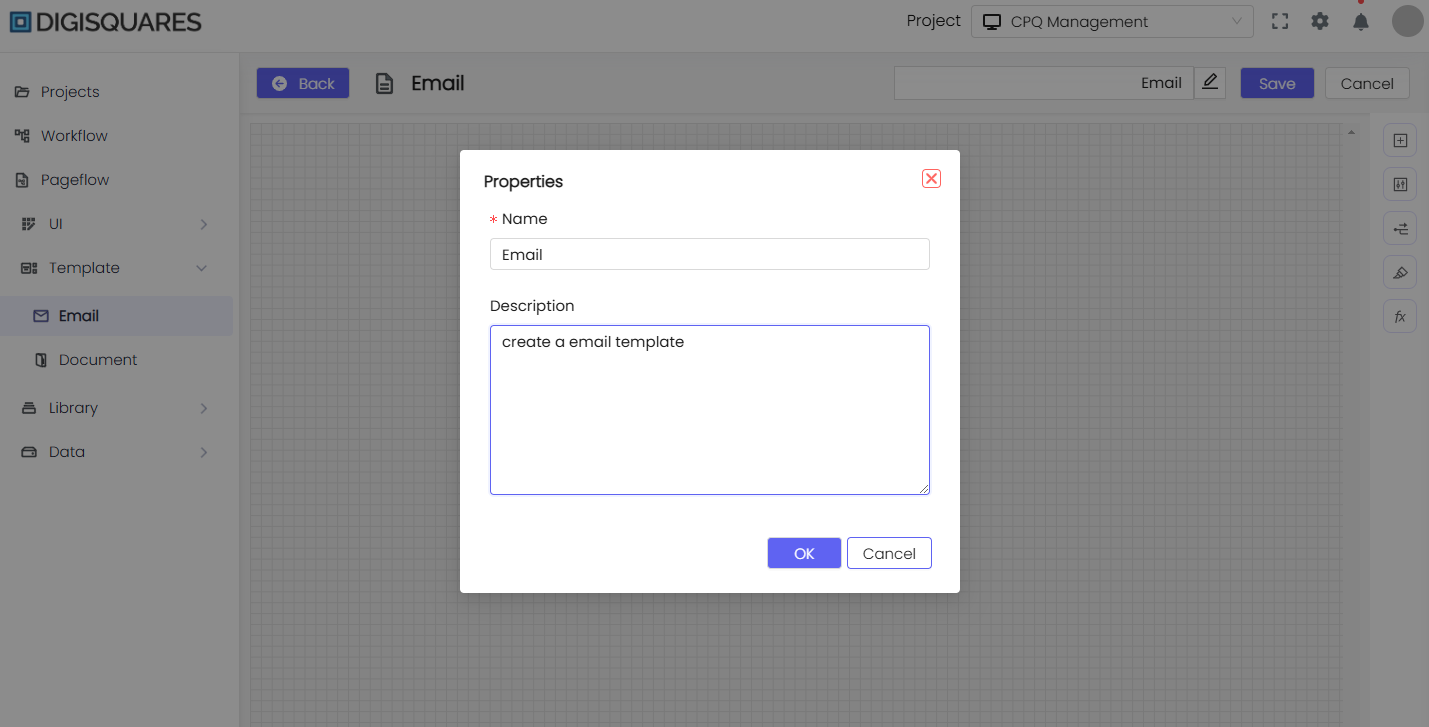
For media elements like images, the platform provides the Properties panel to configure aspects like file upload, alt text, and fallback text.
- To add an image, select the Image component, then upload a new image file or link to an external one.
- Use the Properties panel to edit the image's alt text and other settings.
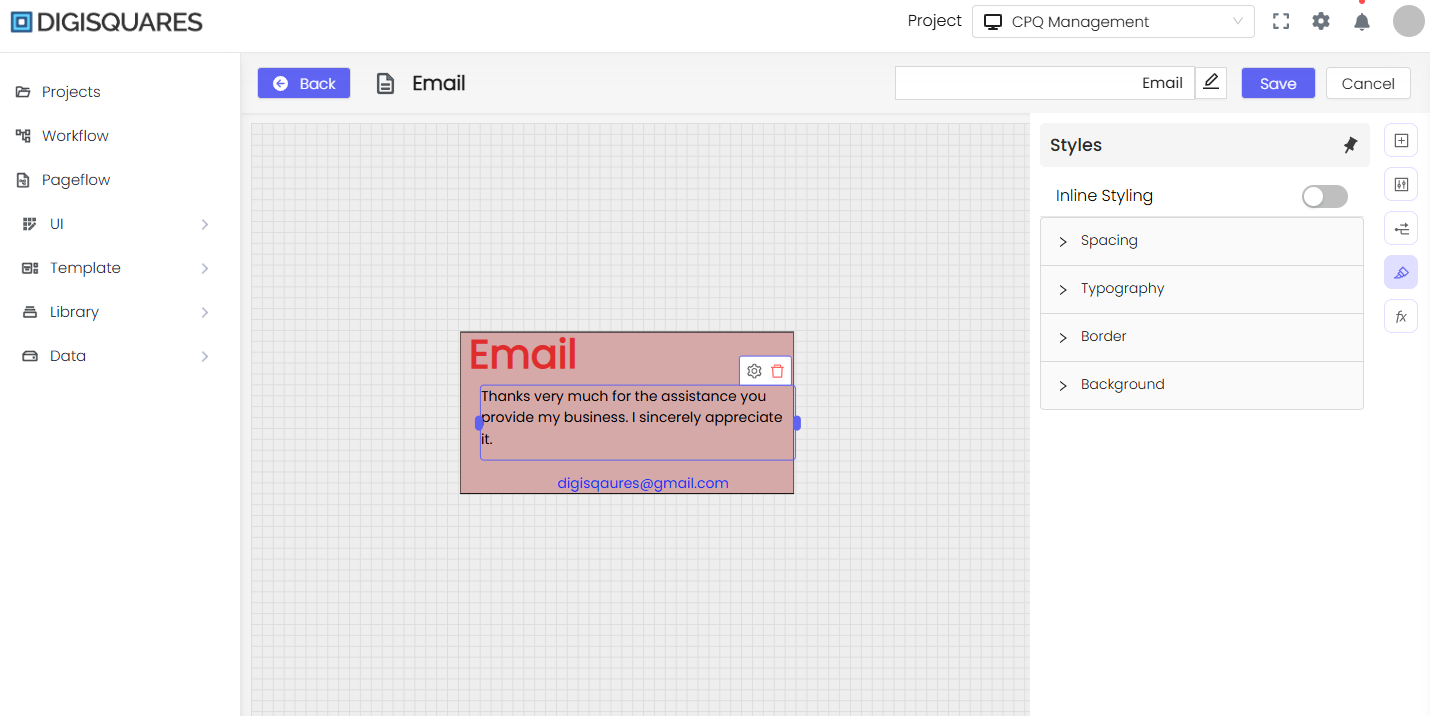
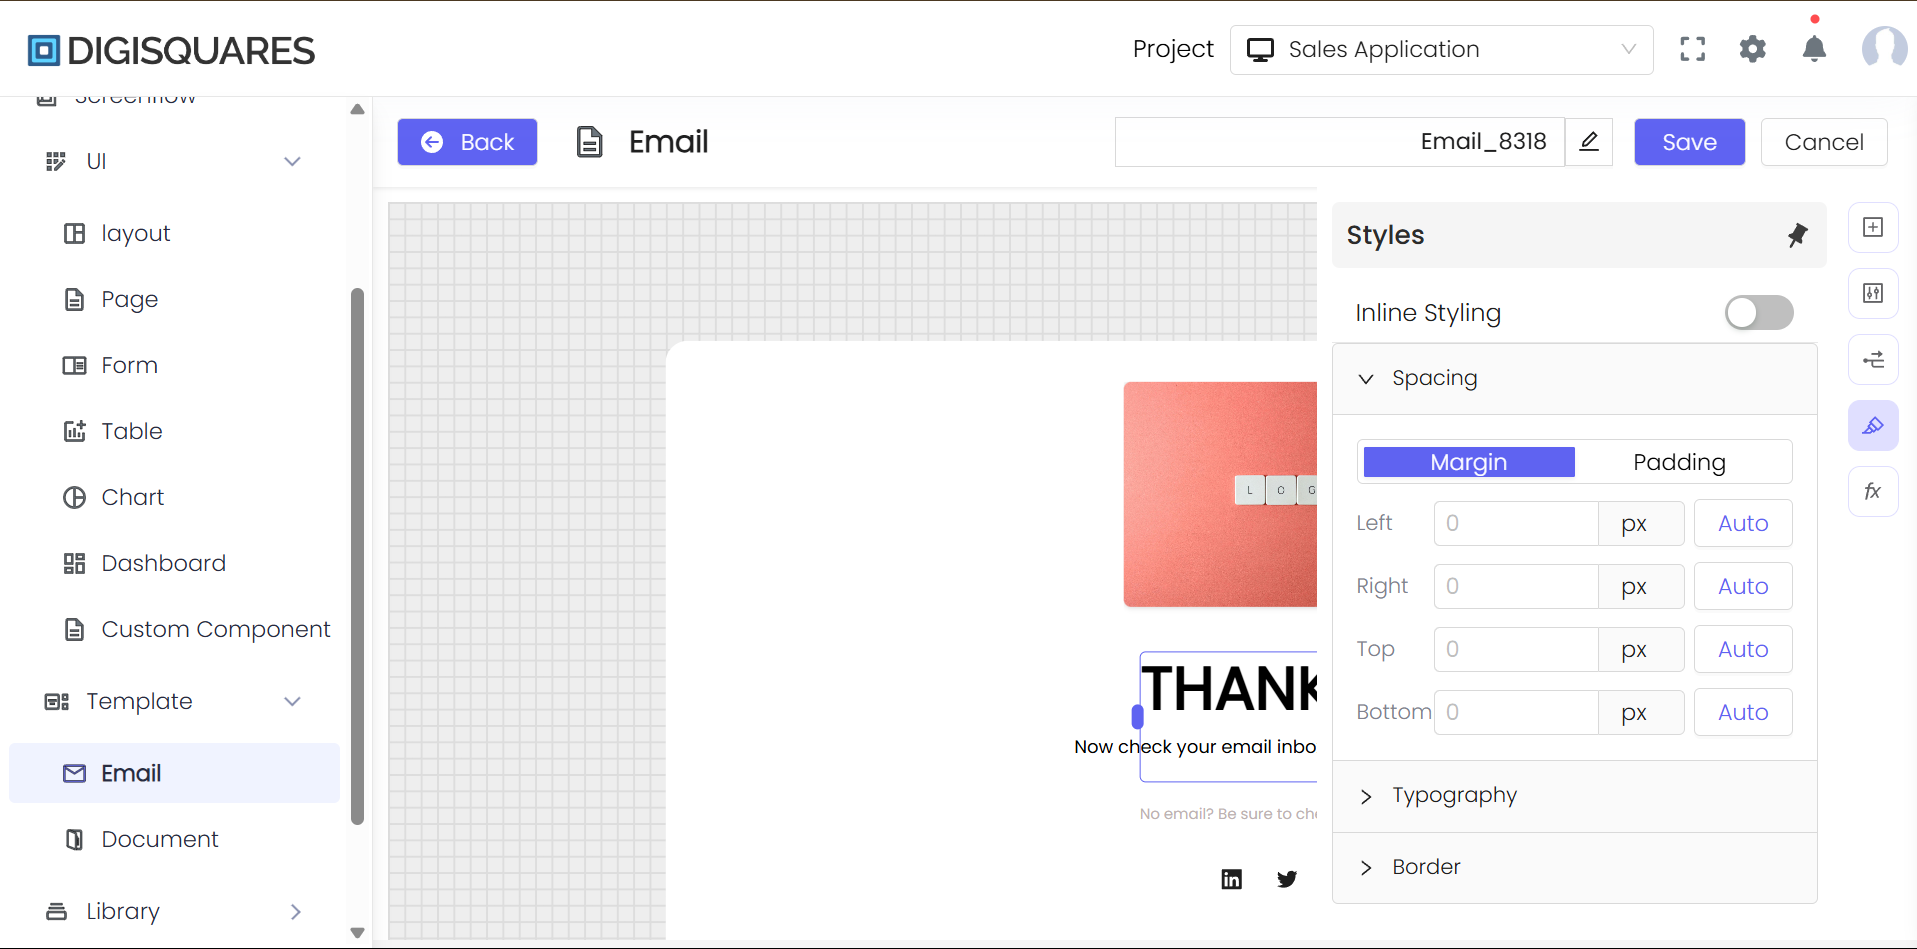
Step 7: Styling the Email
The Styles panel lets you fine-tune the appearance of your email components. You can adjust:
-
Typography: Change fonts, font sizes, colors, etc.
-
Spacing: Adjust padding and margins between components.
-
Backgrounds and Borders: Set custom backgrounds or borders to highlight specific sections of your email.
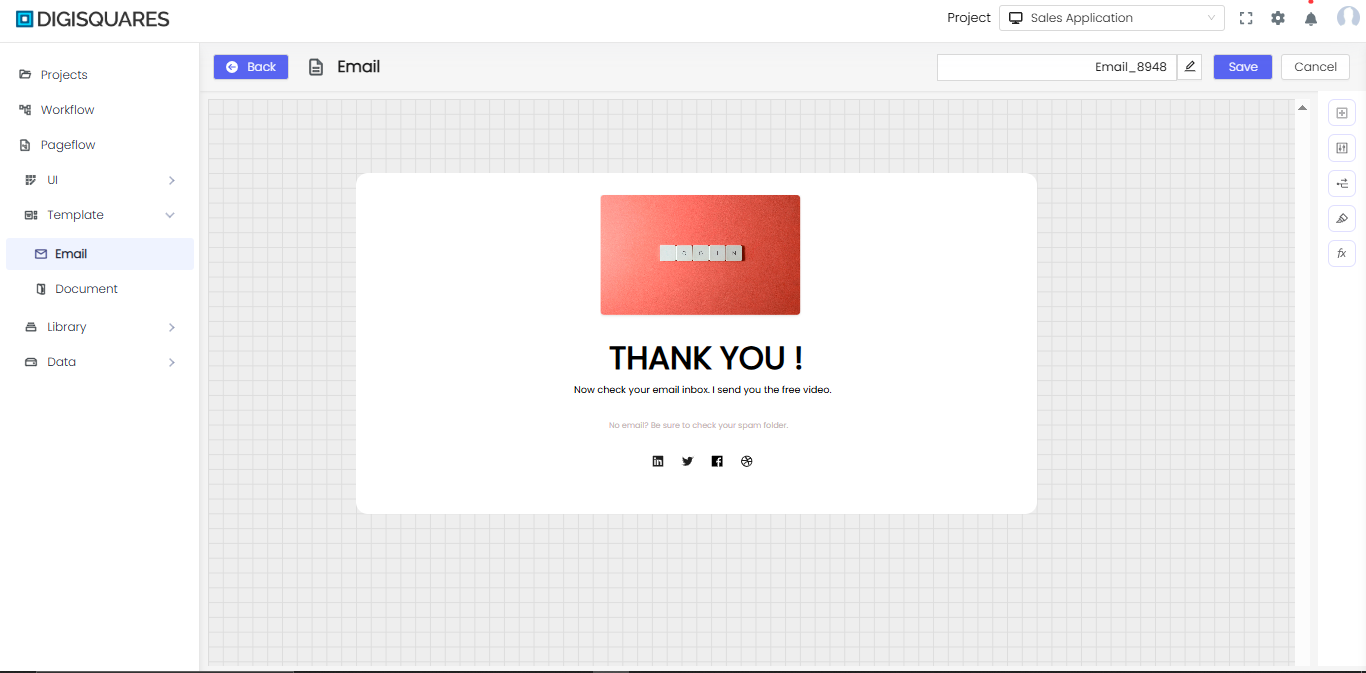
Step 8: Previewing the Email
Once your email layout is complete, you can preview it to ensure everything looks as expected:
- Check how your email will appear in different environments (desktop, mobile, etc.).
- Make sure all text, images, and buttons are aligned and styled correctly.
Step 9: Saving and Finalizing
After making your adjustments, click Save in the top-right corner to store your changes. If you're finished, you can either:
- Send the Email: Integrate with other tools or workflows to send the email directly from DIGISQUARES.
- Export the Email: Export the design for use in external email platforms.
Advanced Features
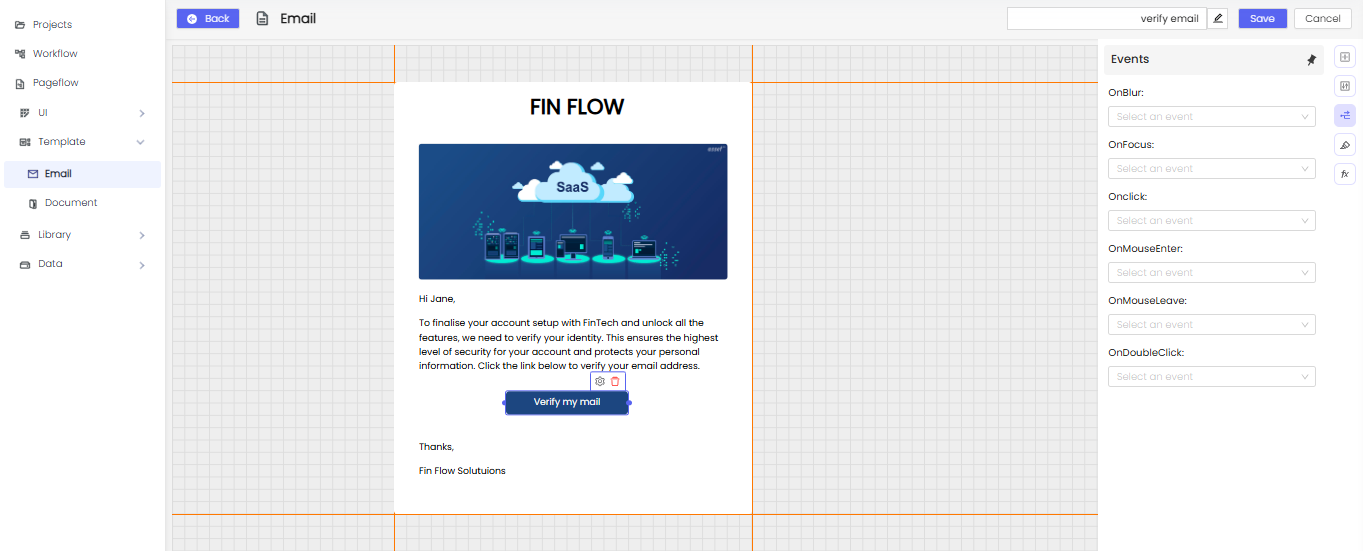
Step 10: Configuring Events
You can add event-based interactions, such as what happens when a user clicks a button or focuses on an element.
-
Select a component (like a button) and configure event actions (e.g., OnClick, OnMouseEnter) in the Events panel.
Step 11: Working with Variables
For dynamic content, you can create variables that adjust the content based on user interaction or data. For example, you can use variables to personalize emails by inserting names, addresses, or other user-specific details.
- Click on the Variables tab and select Create New Variable.
- Define the variable and use it throughout your email content for dynamic text insertion.
Best Practices for Email Design
- Keep It Simple: Use a clean and straightforward design to avoid overwhelming the reader.
- Responsive Design: Ensure your email looks good on both desktop and mobile by using the platform’s responsive features.
- Personalization: Add dynamic elements like user names or product recommendations to increase engagement.
- Testing: Always test your email across different devices and platforms to make sure it renders correctly.
Conclusion
The Email module in DIGISQUARES makes email design simple and accessible. With its visual editor, drag-and-drop components, and pre-designed templates, you can create professional emails quickly. Whether you're sending transactional messages or marketing campaigns, this module provides the flexibility to design emails that look great and perform well.