PageFlow Create
Page flows in our Digisquares platform allow you to visually design the sequence of screens and user interactions within your application. This document will guide you through the process of creating a page flow using our intuitive drag-and-drop interface.
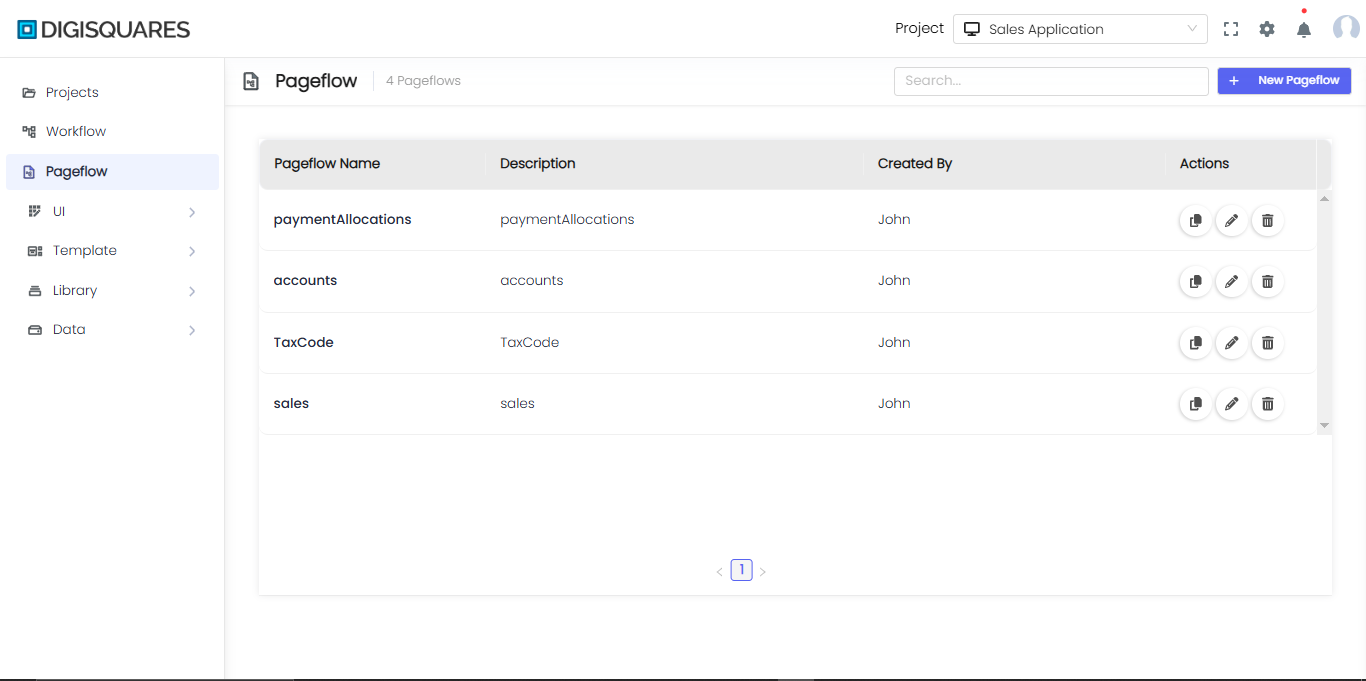
Step 1: Creating a New PageFlow
- Navigate to the Digisquares platform and go to the PageFlow module from the sidebar.
- Click on the + New PageFlow button located at the top-right corner of the screen.
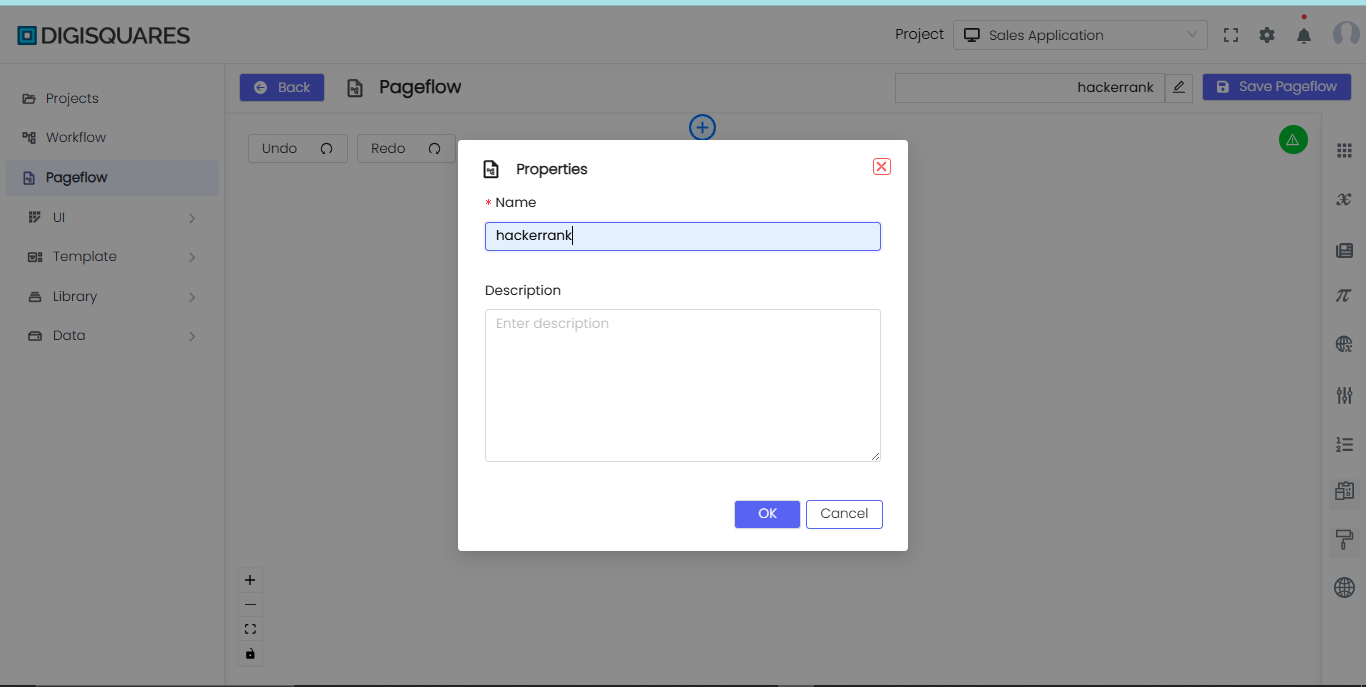
- A dialog box labeled Properties will appear.
- Enter a unique Name for your PageFlow in the provided field (e.g.,
DB_06). - Optionally, add a Description for better identification.
- Click OK to create the new PageFlow.
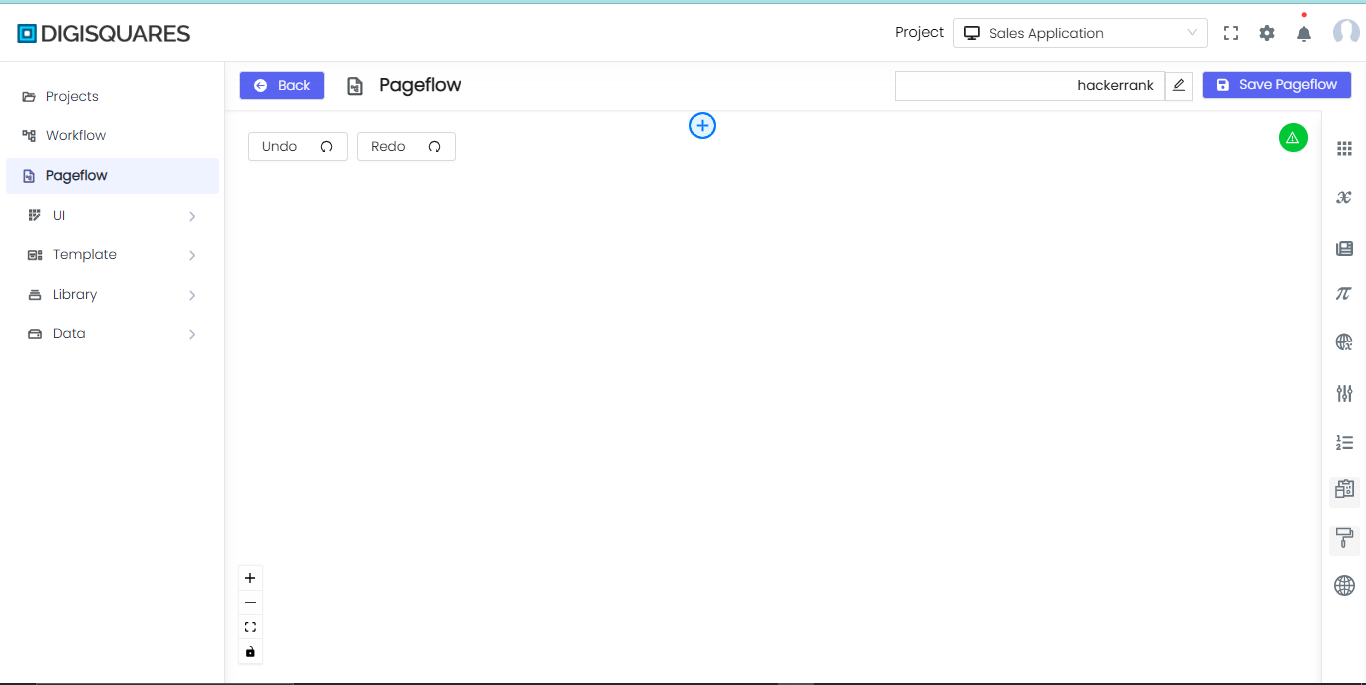
- Once created, the PageFlow editor opens, allowing you to design and configure screens.
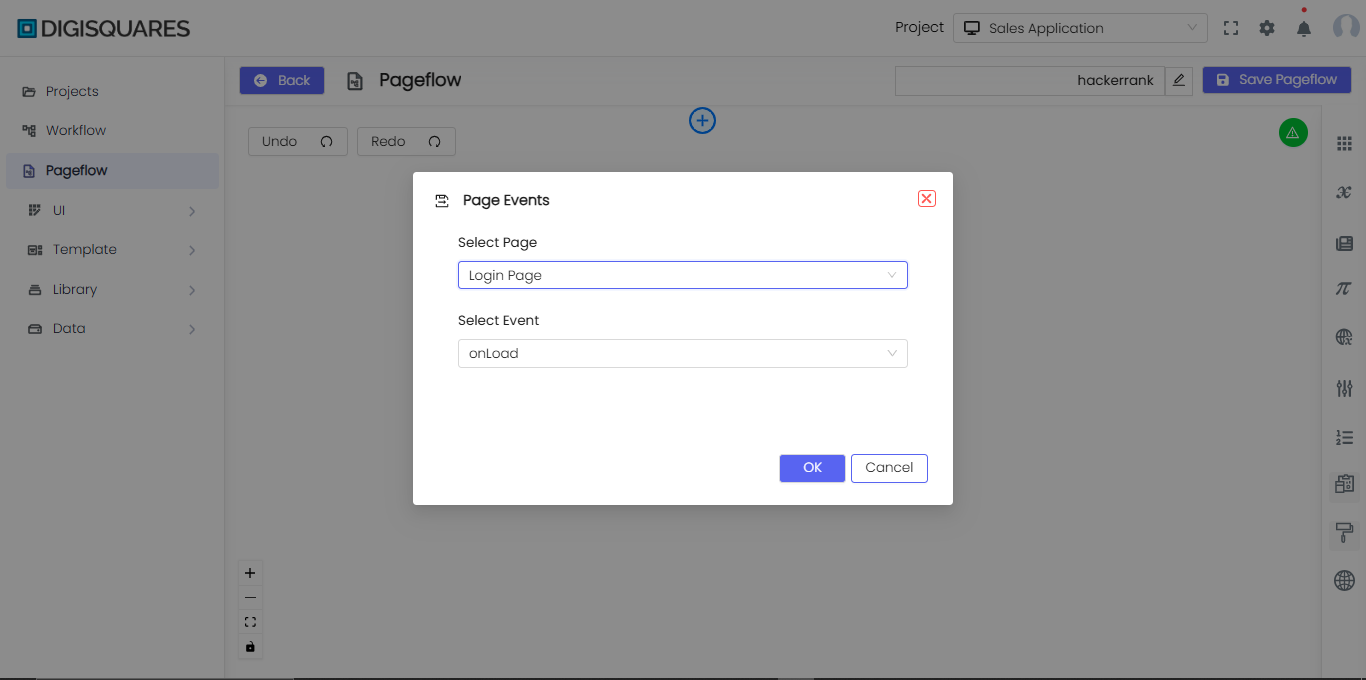
Step 2: Defining Navigation Logic
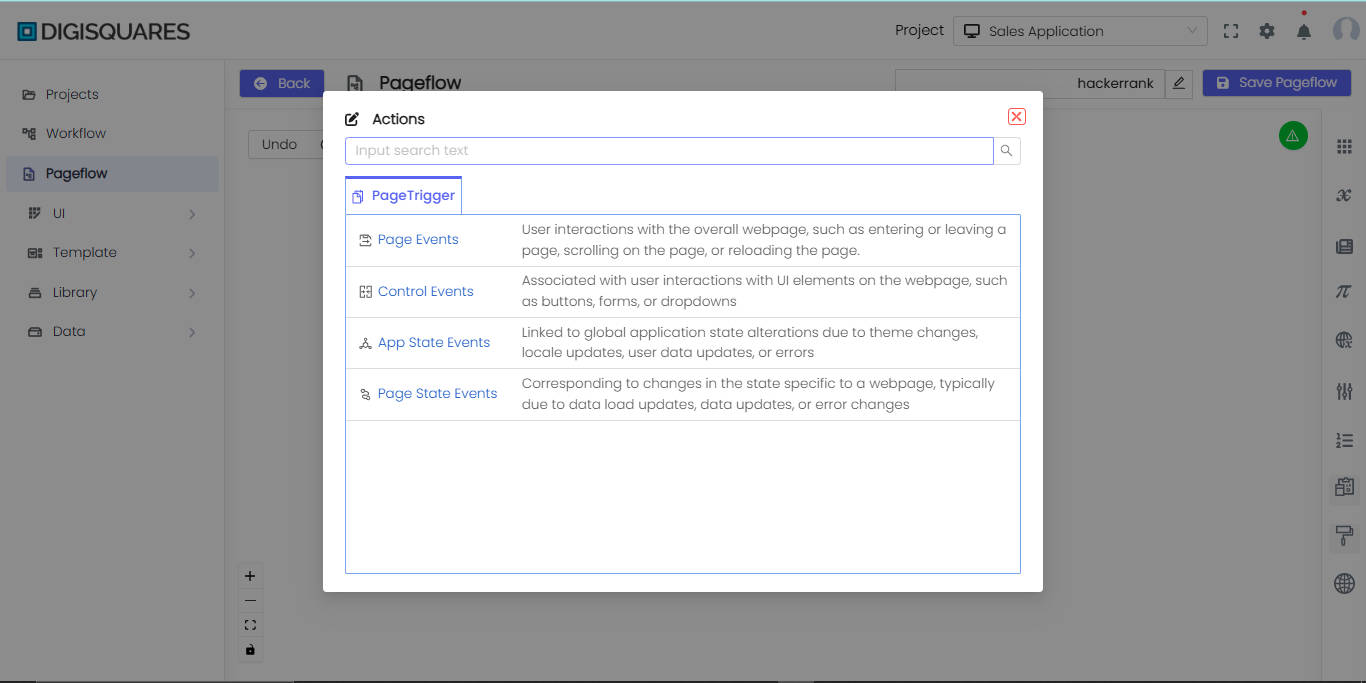
- Open the Actions Panel and select PageTrigger to set up navigation logic for different types of events.
- Choose from the available Event Categories:
- Page Events: Handles interactions like entering or leaving a page, scrolling, or reloading.
- Control Events: Manages UI interactions with buttons, forms, and dropdowns.
- App State Events: Reacts to global changes like theme updates, locale changes, or user data modifications.
- Page State Events: Triggers actions based on webpage-specific state changes like data updates or error handling.
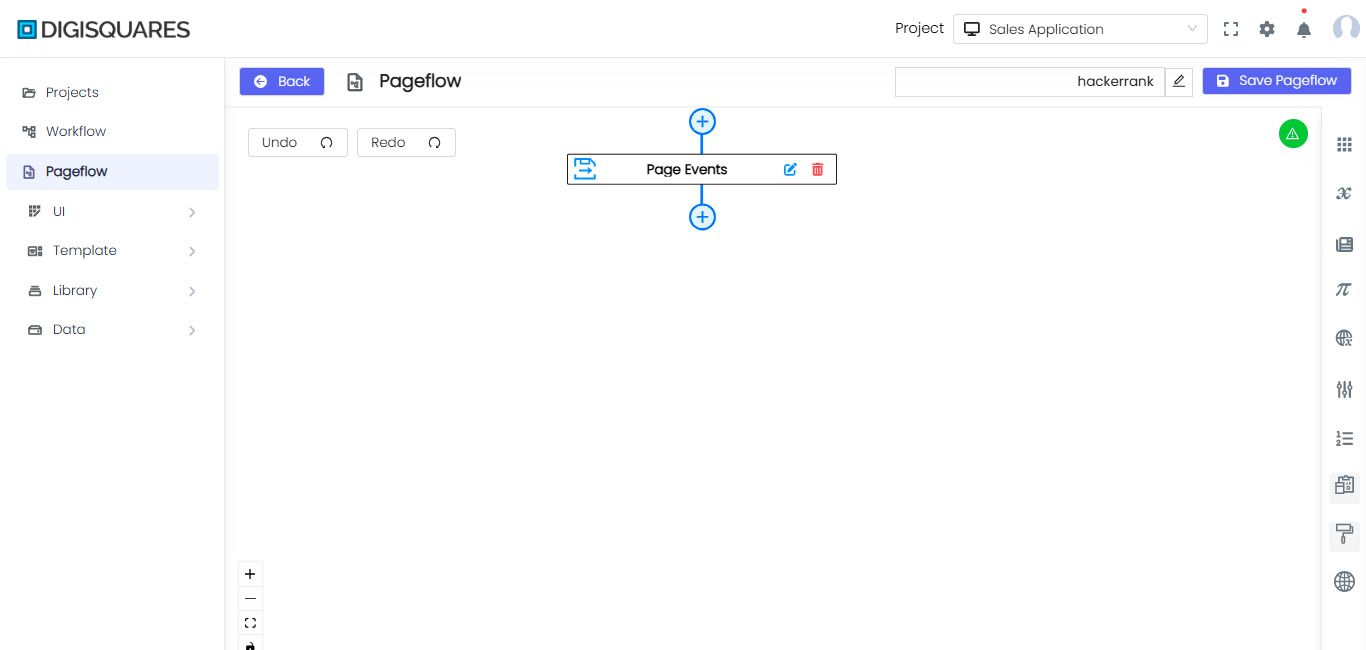
- Assign appropriate actions or transitions based on the selected event type.
- Connect event-driven triggers to define the flow between different screens in your application.
- Ensure the navigation logic is intuitive and aligns with user expectations.
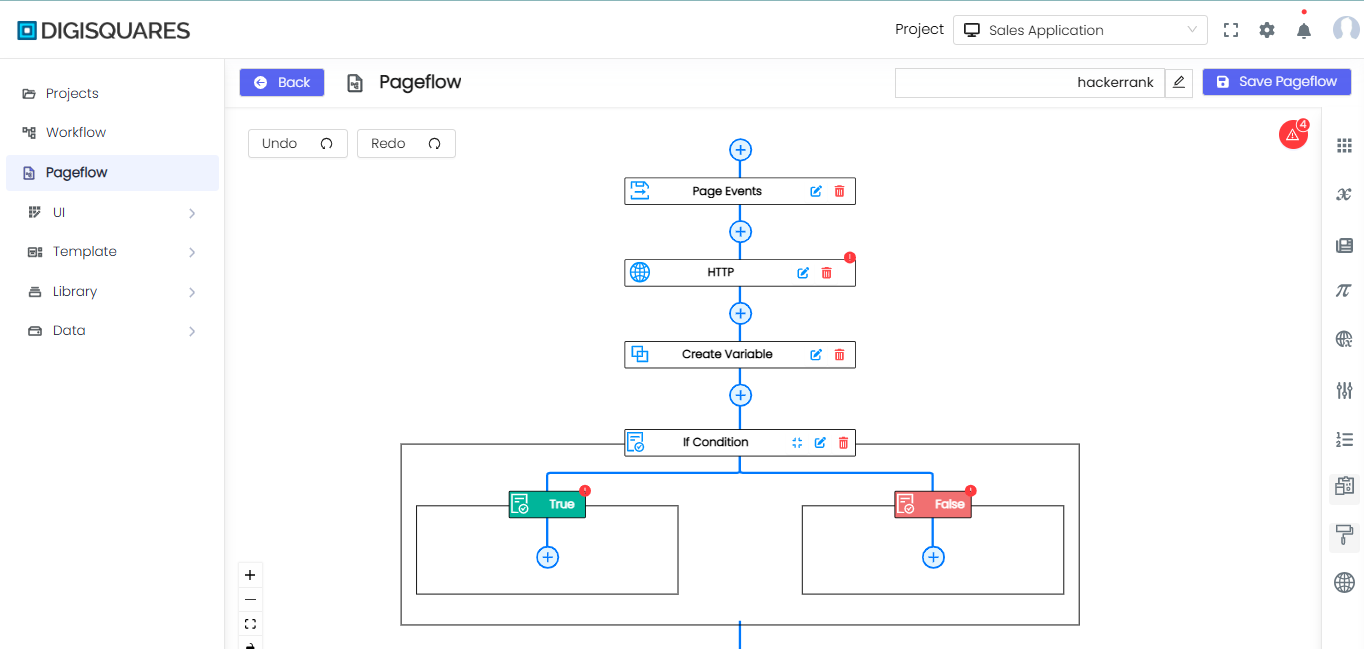
Step 3: Creating Connections
- In the PageFlow editor, locate the Actions Panel to configure different functional aspects.
- Use the available categories:
- Styles: Apply Style Properties and Modal Styles for UI enhancements.
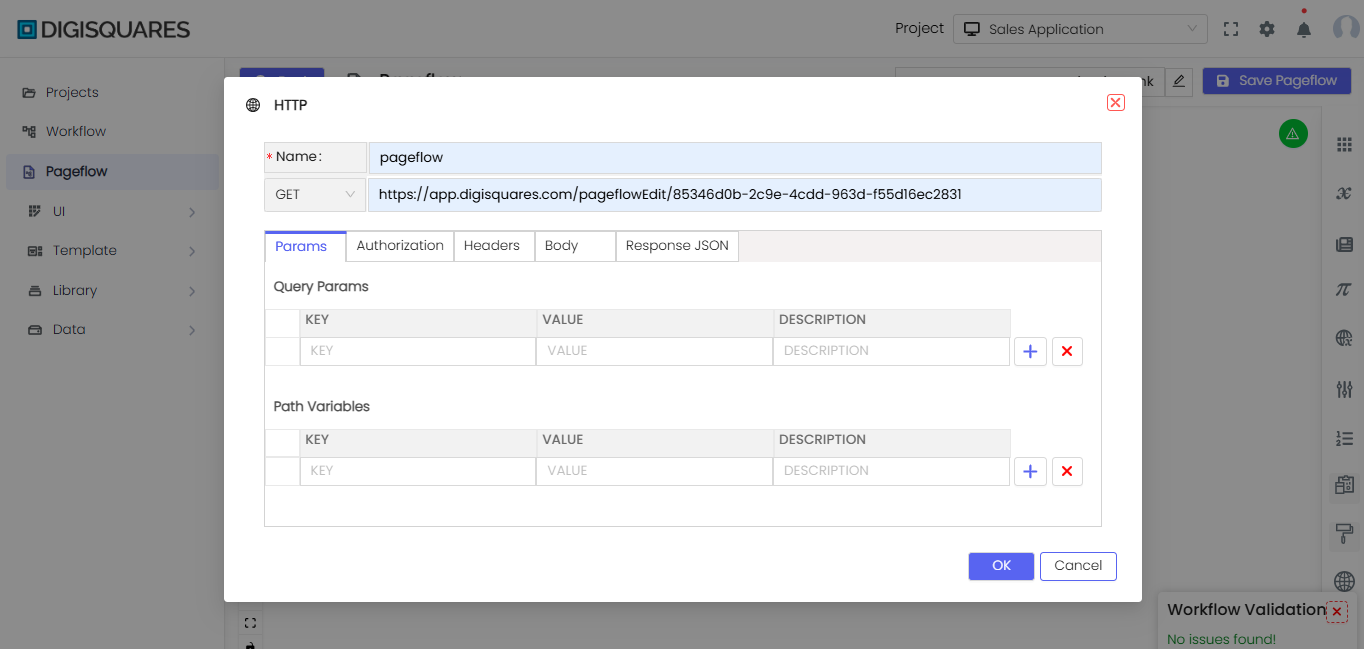
- Common Actions: Add Functions, HTTP Requests, Web Services, Email, and API Configurations.
- Variables: Create and modify Variables, including setting values, incrementing, decrementing, setting status, and responses.
- Control: Add If Conditions, Loops (For Each, For Loop, Switch, Until), and Try Catch for workflow management.
- Data Processing: Use Filter Array, Join, Parse JSON, Select, CSV Table, and HTML Table to process and manipulate data dynamically.
- Integration: If no integrations are found, go to the Data menu to set them up.
- Drag and drop the necessary components from the Actions Panel onto the canvas.
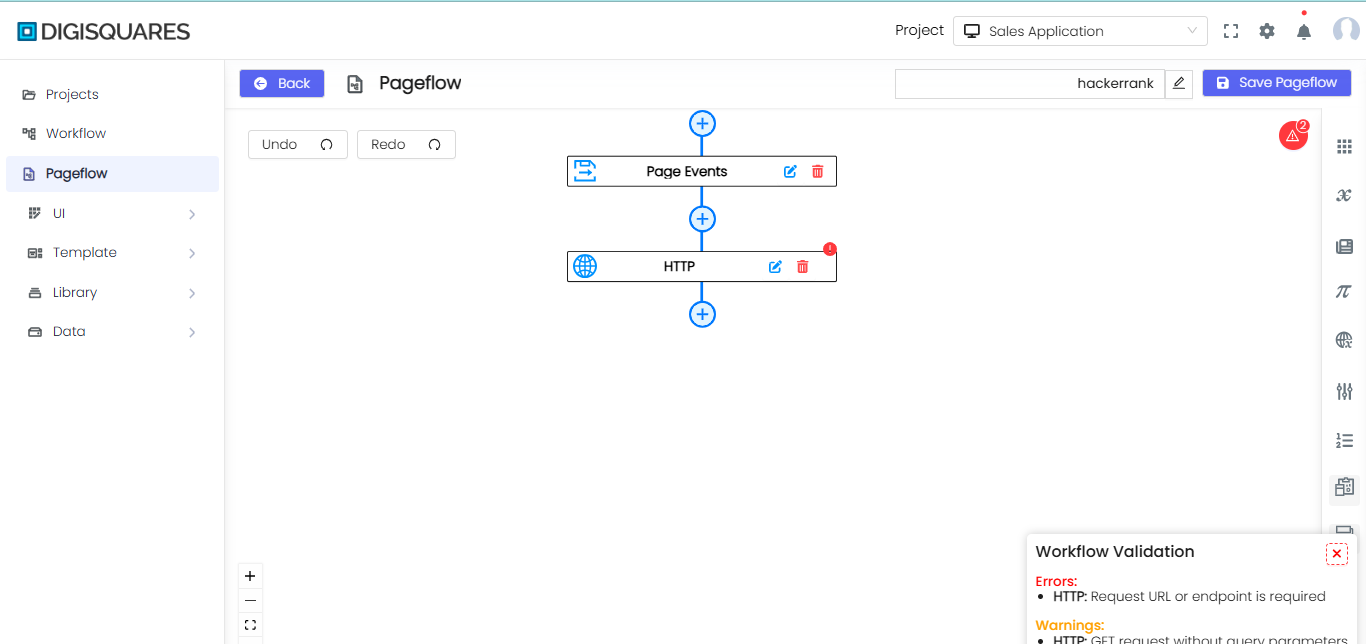
- Define the flow of the PageFlow by linking actions between components.
- Configure transition logic, specifying which triggers (such as button clicks, form submissions, or conditions) move users between screens.
- Establish branching logic to control navigation based on user inputs or predefined conditions.
Example Chart Visualizations
Here are some example visualizations created using Digisquares:

Step 4: Configuring Variables and Data Bindings
-
Open the PageFlow editor and navigate to the right panel to access different variable types:
- Nodes: Displays existing nodes in the workflow.
- Flow Variables: Stores dynamic values shared across the PageFlow.
- Page Variables: Manages data specific to a particular page.
- Constants: Contains fixed values that do not change.
- Environment Variables: Stores global values for different environments.
- Enum Variables: Holds predefined lists of values.
-
Click on the corresponding tab to create, modify, or delete variables as needed.
-
Bind the variables to UI components by selecting an element and linking it to the respective variable.
-
Use dynamic data binding to update UI elements based on variable changes.
-
Test the data integration throughout the PageFlow to ensure proper functionality and accuracy.
-
Save PageFlow: Click the Save PageFlow button in the top-right corner to ensure all configurations and changes are saved.
By following these steps, users can successfully build a fully functional PageFlow with complex navigation, API integrations, and state management within Digisquares.